Let your child know what is happening. It can be daunting for them to suddenly start using a potty, so talk them through it.
The learning process will take time, so be patient, especially when they have accidents.
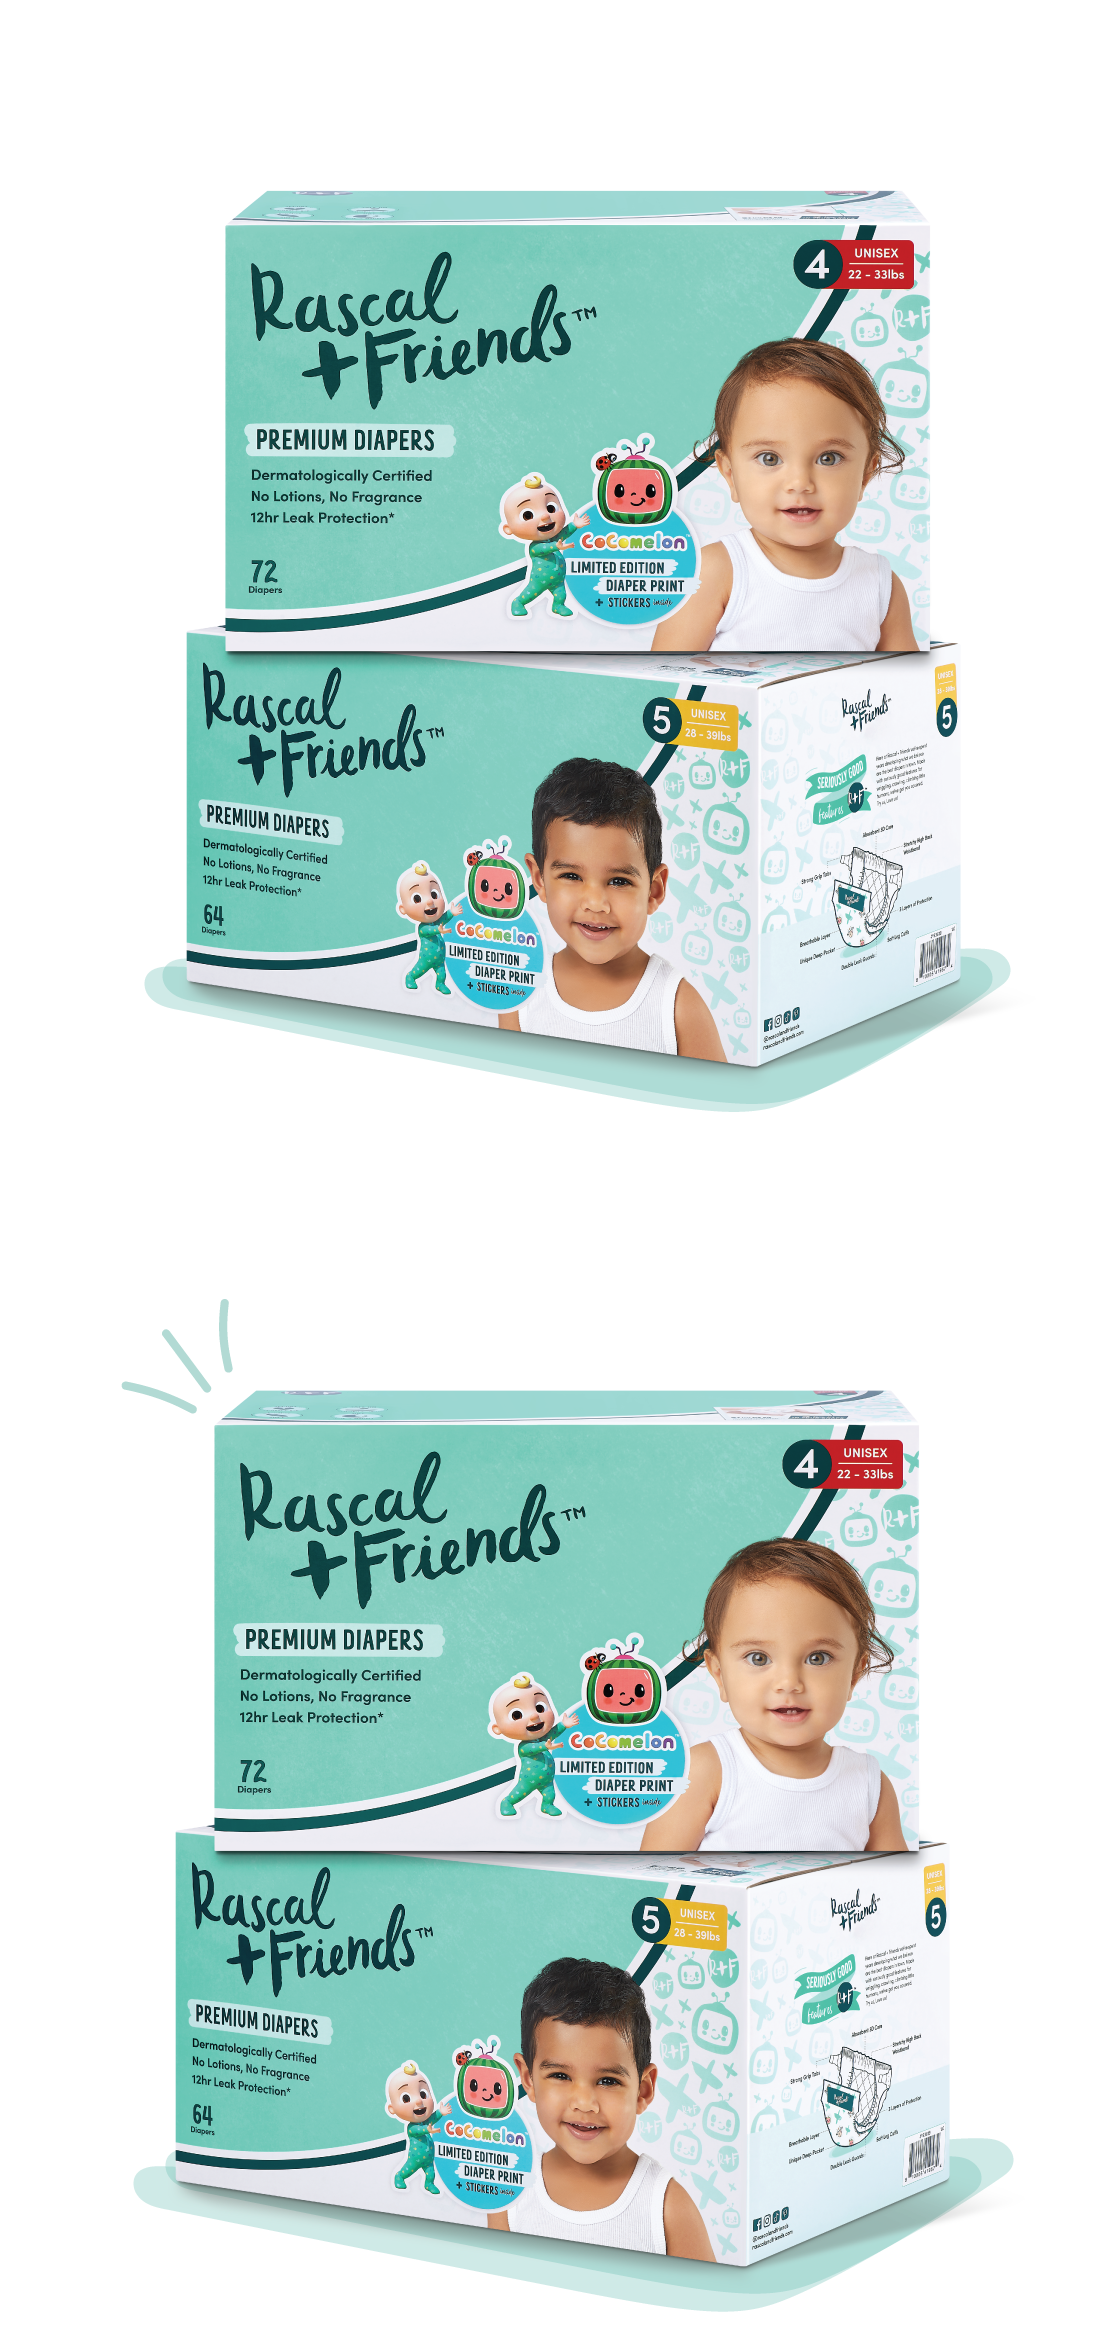
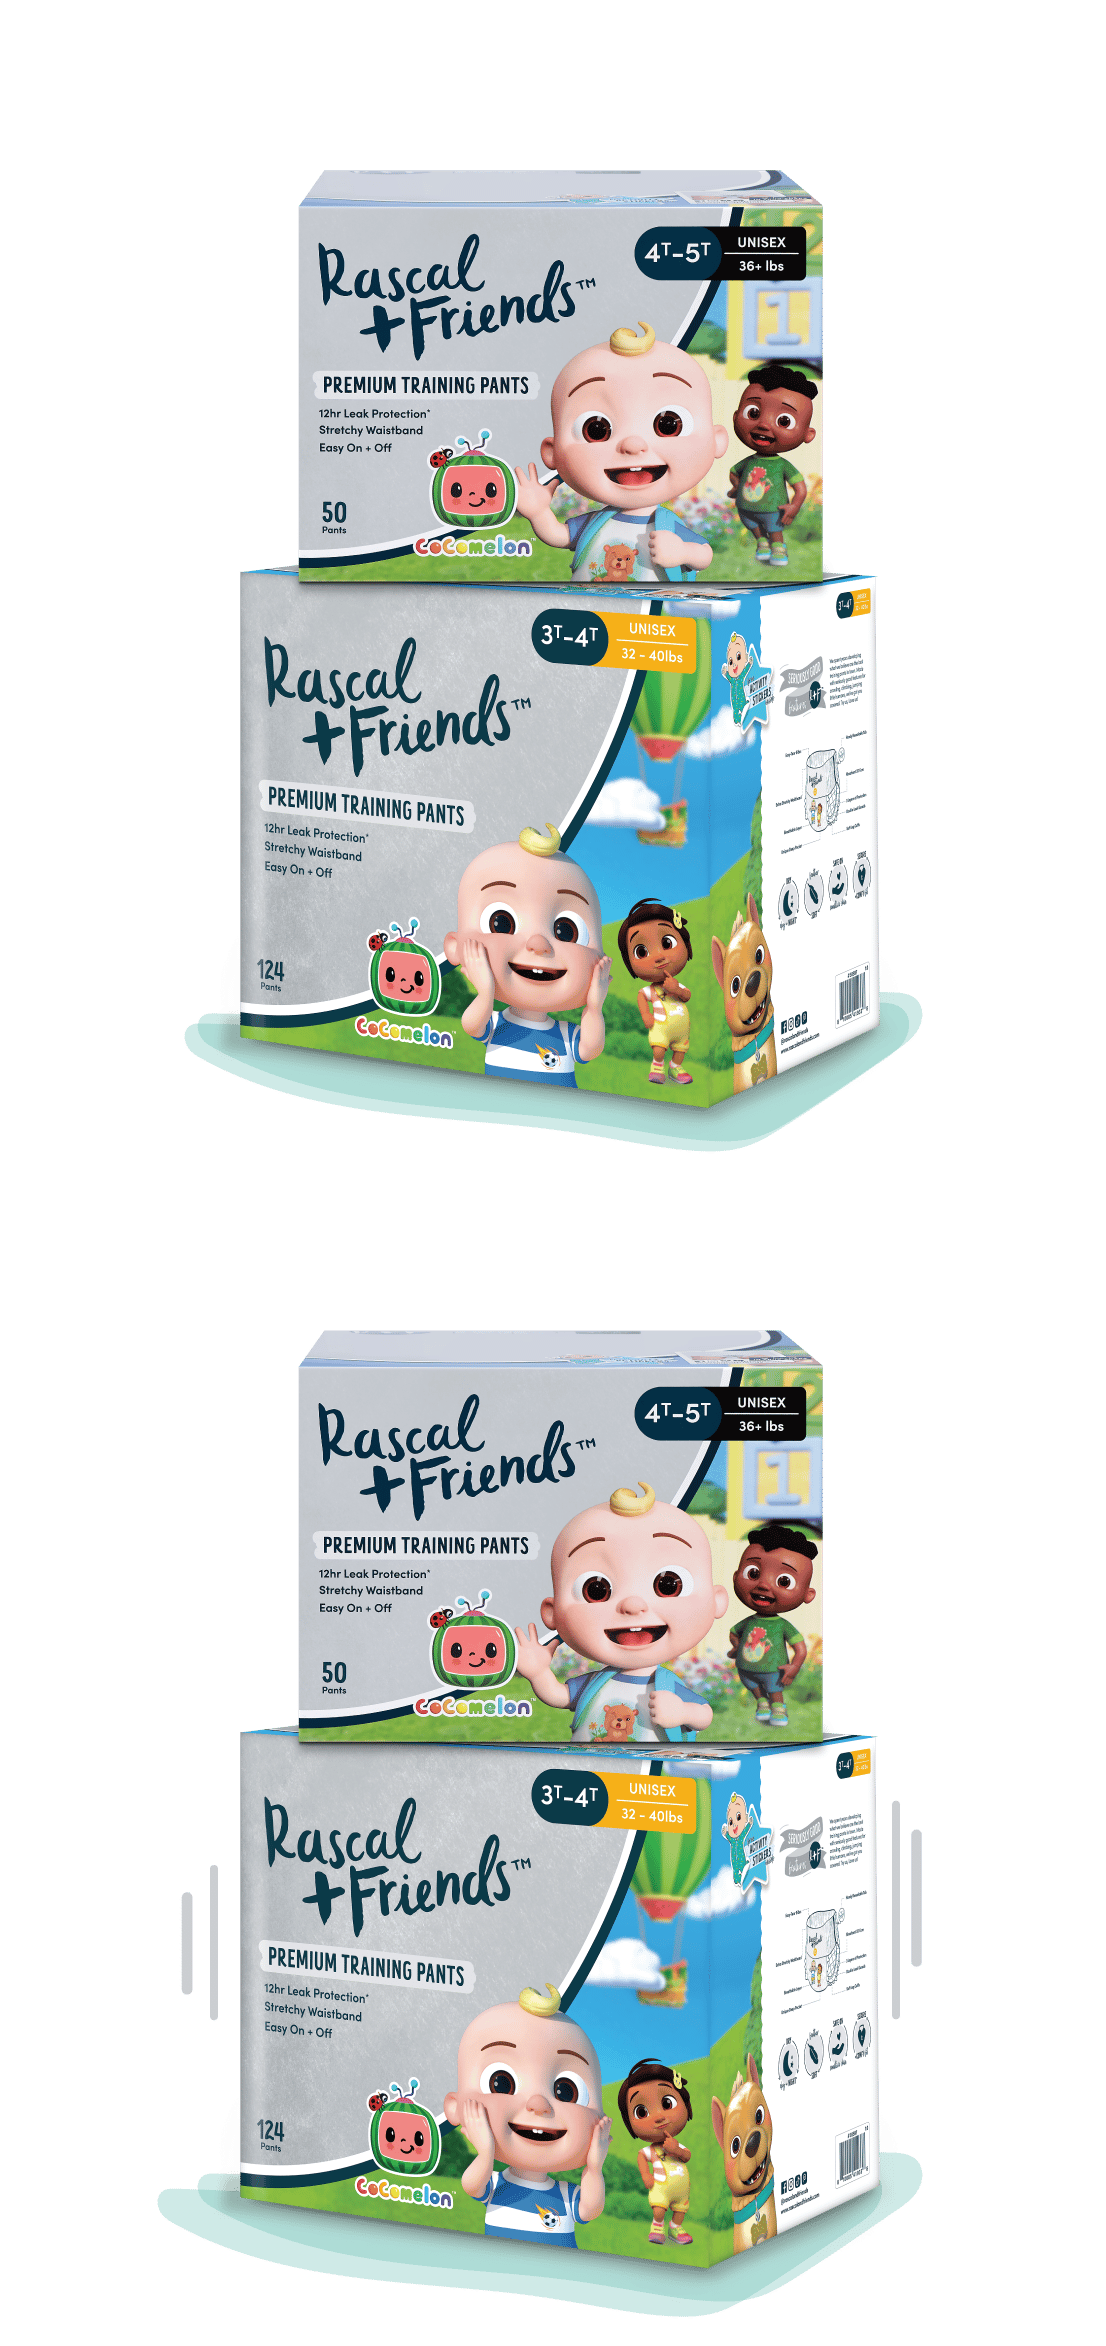
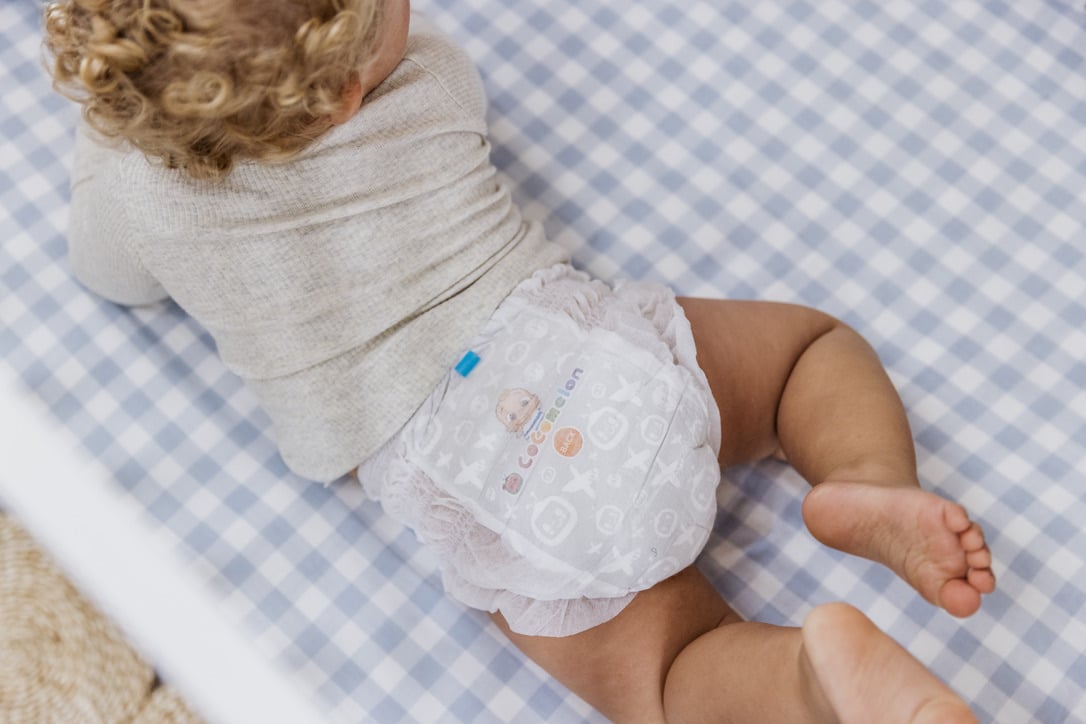
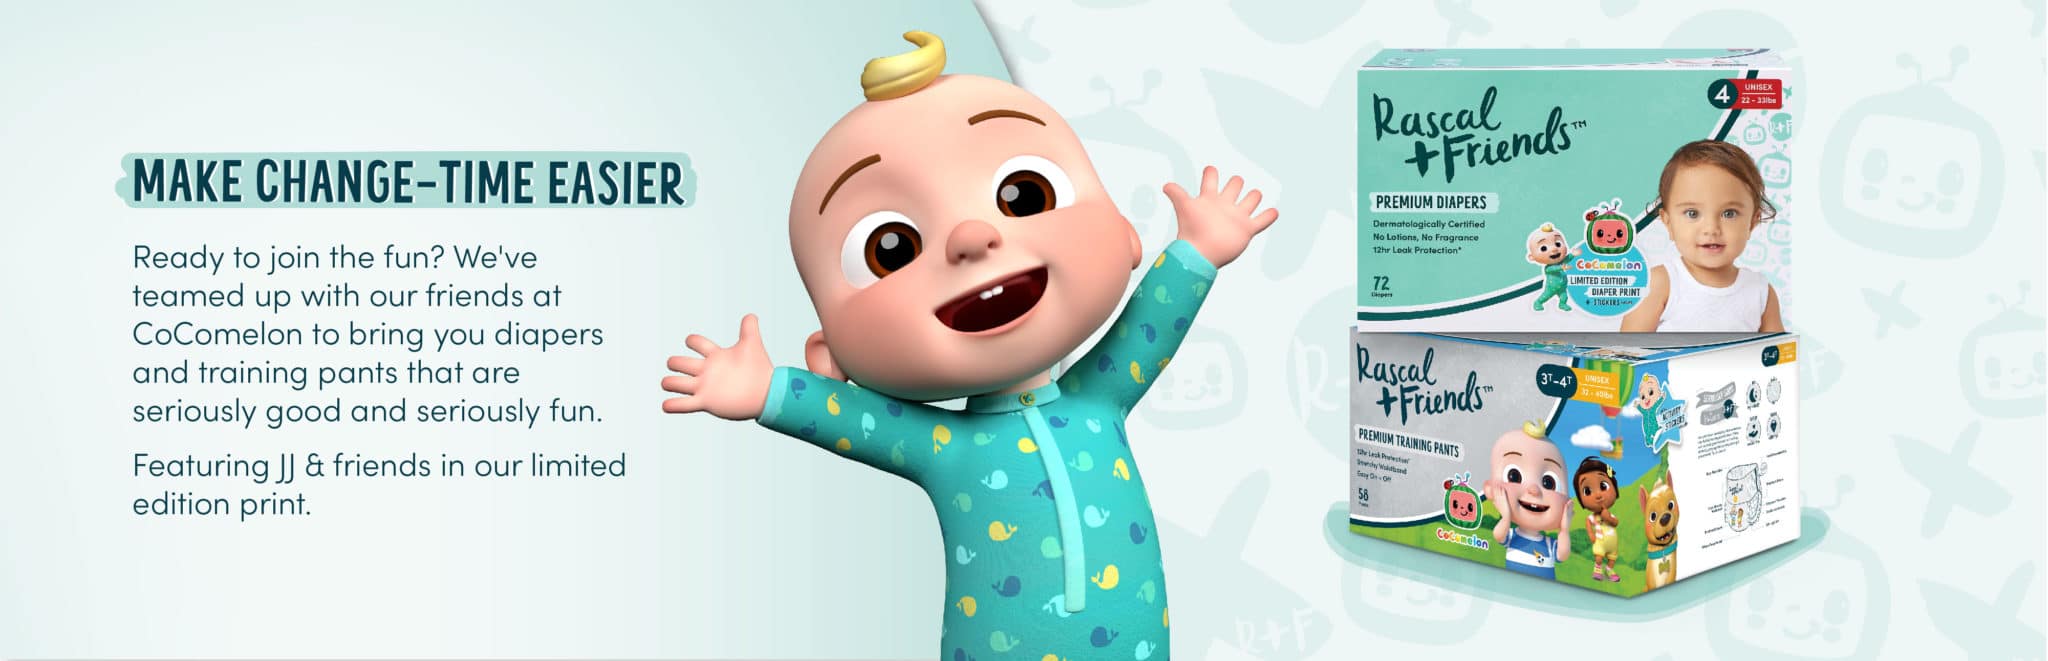
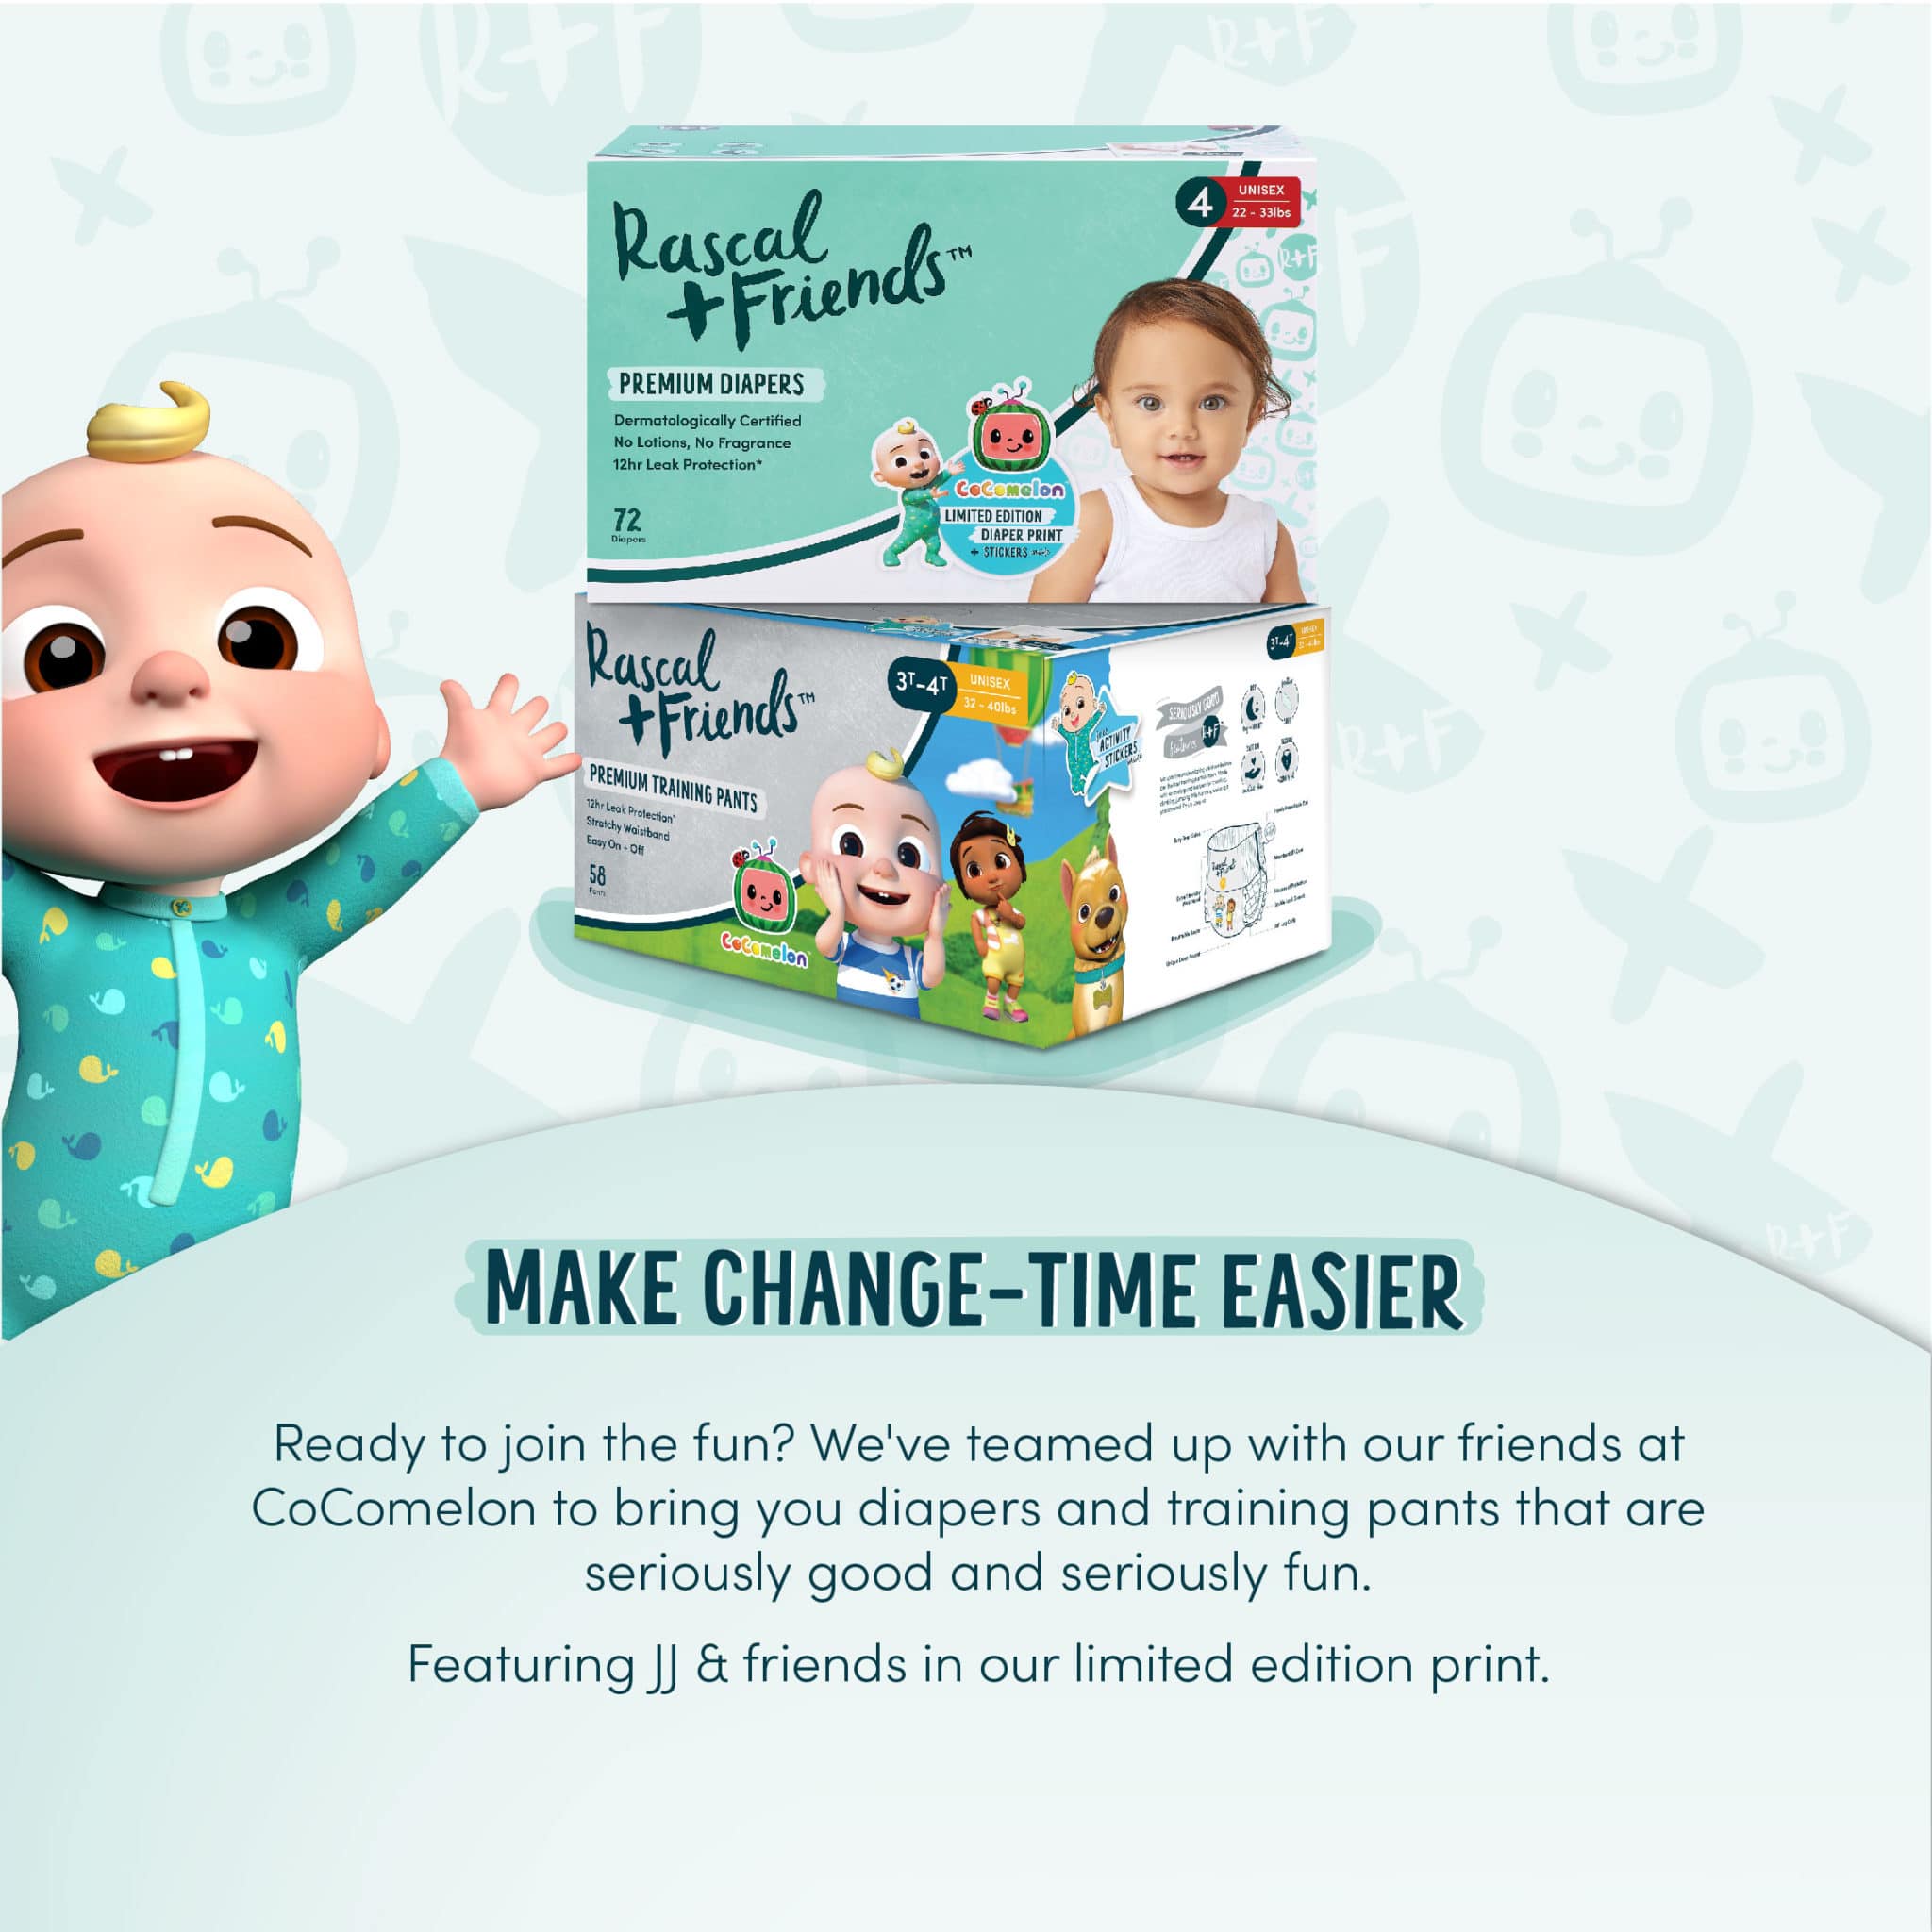
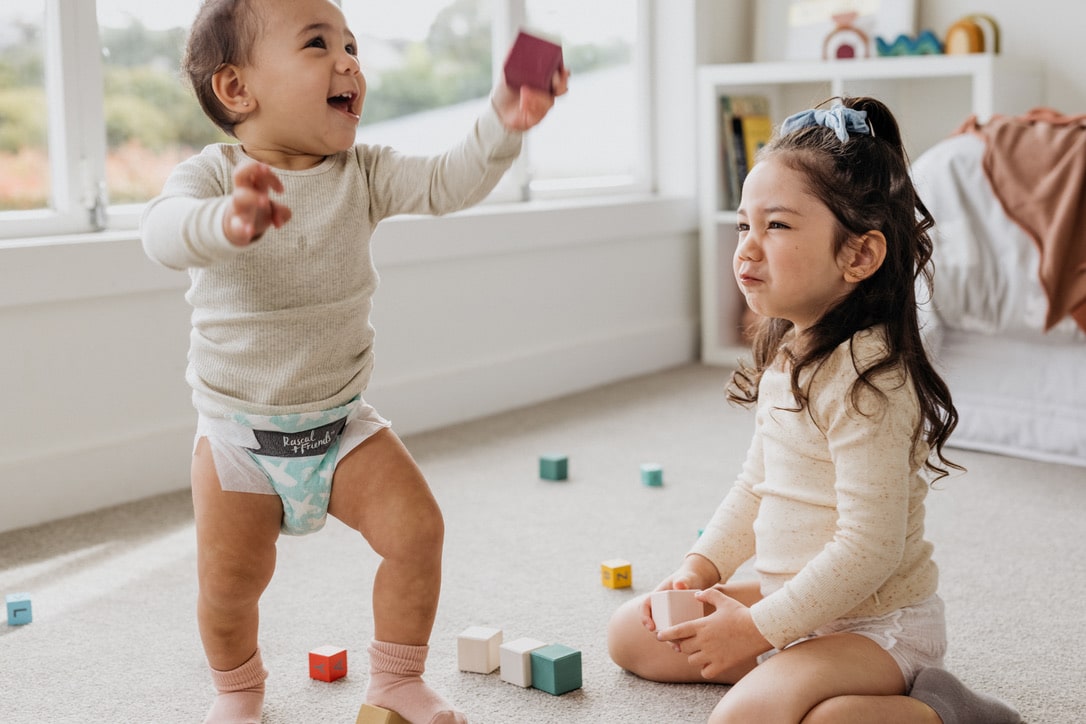
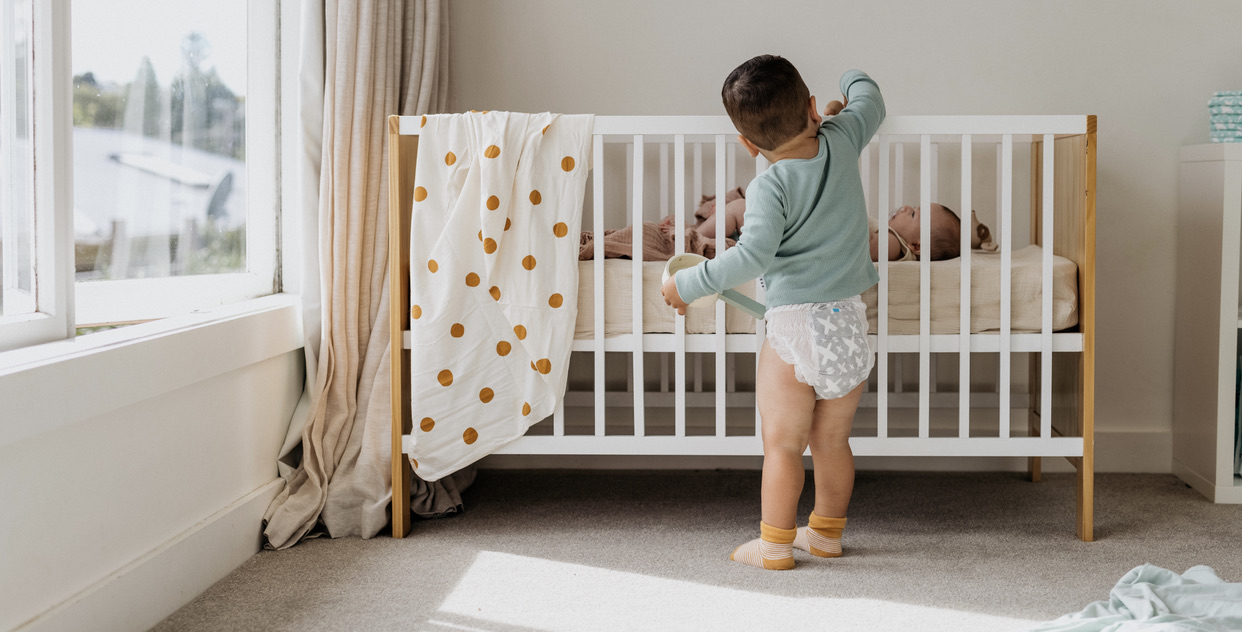
Don’t ditch the diapers right away. Instead, choose training pants or pull up diaper pants that are made for toddlers always on-the-go. Rascal + Friends premium training pants are made with jumping juniors in mind, and include an extra stretchy waistband, pull up design and easy-tear sides. Our 12 hour leak protection* means they’re great for overnight, or transitioning from diapers to pants.
Encouragement and positive reinforcement goes a long way in helping them adapt. Read below for ways you can make potty training fun.
When to start potty training:
Knowing when to start potty training is a common question with an answer as simple as: when your child is ready, there’s no one size fits all approach. Sometimes this starts as early as 18 months, in other cases it doesn’t happen until age 4. That said, most children typically start potty training between 18 and 30 months.
Potty training is more than simply using the potty. It involves the steps you take in teaching your little one how to use the potty and the cues you learn from them. For many kids, this is the first big step in their maturity and development, so you want to make this an enjoyable experience for all.
The following signs may indicate that your child is ready to start potty training:
They try to remove their diaper after weeing, or when they are uncomfortable.
Communicating that they need their diaper changed.
They stay dry in their diaper for at least two hours during the day, or are dry after naps.
They start to show interest in underwear or “big kid” pants.
They can follow simple instructions, like walking to the bathroom, sitting down and removing their clothes.
How to start potty training your toddler:
Successful potty training requires consistency and patience. As mentioned, timing is important – so try to avoid times where there could be major distractions or environmental changes, such as moving house.
Introduce the idea of a potty
Even before using the potty, there are a number of fun ways you can introduce it. Such as reading children’s books, teaching your little one what it looks like, or using craft activities like this colouring-in maze. Find more fun activities on our News + Resources hub.
You may also like to involve them in purchasing the potty, making the process fun from day one! This is also a good way to check that they sit comfortably on it.
Normalise the idea of going to the potty by introducing it into everyday conversation; saying things like: “I wonder if Jay Jay (or your child’s favourite character) needs to go potty” or “I have to go wee, I’m going to use the potty.” The idea is to raise awareness about going potty and make your child comfortable with the concept before introducing action. These techniques may also pique their interest and get them excited by the potential of trying it themselves.
Make it a habit
You may like to follow a schedule or introduce key times throughout the day that they should go to the potty. For example, first thing when they wake up, every couple of hours, before leaving the house, before and after nap time and the final step in your bedtime routine. Even if they object to “not needing to go,” the ritual of going to the potty and through the motions involved with this process, reinforces the habit. Eventually, it should become part of their routine.
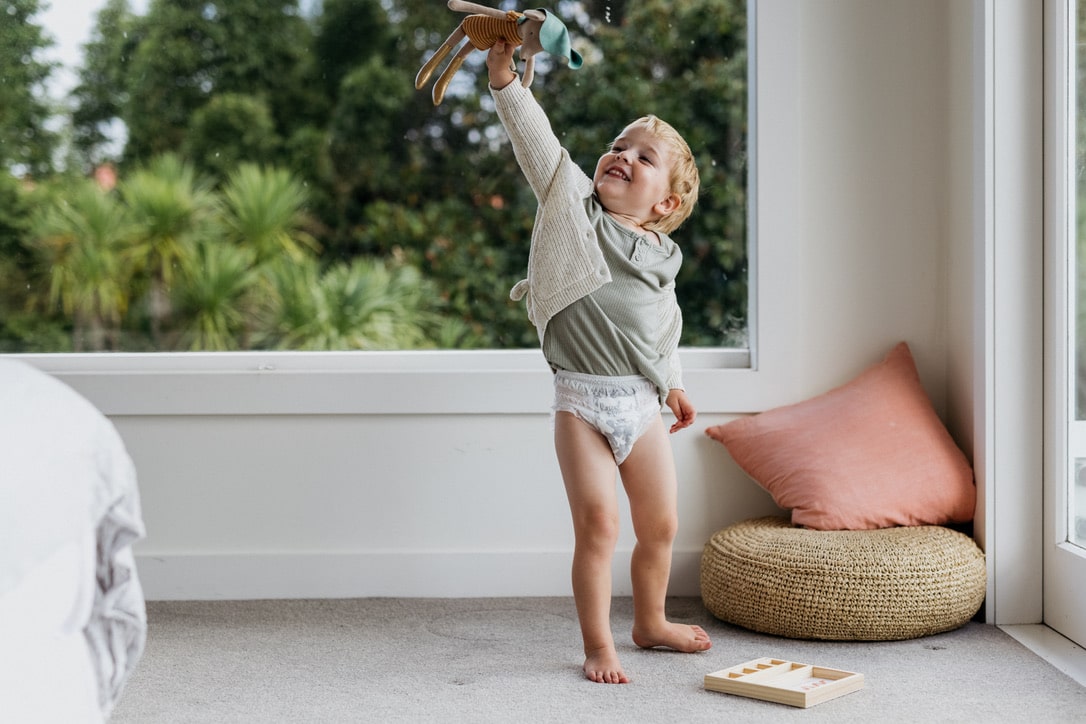
Make a habit of the routine by asking them to remove their pants, diaper, and sitting on the potty for a few minutes. Switching from diapers to Rascal + Friends premium training pants help make change-time easier and are perfect for potty training. Made with up to 12 hour leak protection, an extra stretchy waistband and easy-tear sides, learn more about our seriously good features and find the right size.
Teach proper hygiene
Teach good hygiene habits early on, and stick to them. The final part of “going to the potty” should include using toilet paper to clean, proper disposal and washing up. Make the sink, soap and hand towel accessible to them (you could use a stepping stool), and help them wash their hands with soap and warm water for at least 20 seconds.
Make hand washing fun with colourful soaps and singing their favourite song with them. With time, they may like to start doing this independently.
Positive reinforcement and patience
Essential to the potty training process is positive reinforcement and patience. It will take time for their body to adjust to using the potty, and accidents are part of the learning process. Try not to react to these occasions with frustration. Instead, offer reassurance, help them change into a clean diaper, and explain why we use the potty and what we can try do next time.
When they use the potty successfully, offer gentle praise or a small reward like a sticker chart. Positive reinforcement of their behaviour and what they did successfully also helps them learn.
Toilet training is simply the next step up from potty training – that is, using the actual toilet instead of a potty. While every child is different, most are ready to start the toilet training process between 20 months and three years old.
Let’s discuss the signs you can look out for, which indicate your little one may ready to start toilet training. We’ll also cover toilet training tips and how to handle mishaps.
Signs your child is ready to toilet train:
Your child can feel when they are wet or dry, and will sometimes tell you.
Your child is starting to do things on their own without your help.
They feel like they want to wee and can hold on long enough to make it to the toilet.
How to start toilet training your toddler
Even if your child shows signs of being ready, they may still be nervous about using the toilet and it will take some time to adjust. Encourage them by being positive, calm and patient.
Tips for toilet training your toddler:
Calm their nerves about using the toilet by showing them how it works. You can start by emptying their potty into the toilet and letting them flush it so they become familiar with the motions and sounds.
A step stool and toilet training seat are great additions to keep your little one safe and comfortable.
Introduce training pants or underpants so they can undress themselves.
If possible, you may want to ditch the layers so your child has fewer items to remove when they need to go. Not only does this reduce their chances of having accidents, but it gives them a sense of independence.
Take your child to the toilet at regular times. Give them enough time to try to go, but don’t leave them there for too long.
Praise your child for trying, even when they don’t succeed. Reward them with hugs, claps, stories or a star chart.
Be prepared for times when they don’t make it to the toilet. Involve them in the cleaning process and talk through ways they can improve next time.
Teach them how to wash their hands after going to the toilet, and make the sink, soap and hand towel within their reach.
Common potty training mishaps and how to handle them:
Bed wetting:
It’s one thing to master daytime potty or toilet training, but staying dry overnight is another learning process.
It can take some time for toddlers to sense that their bladder is full or hold their urine overnight. In fact, most children’s systems don’t develop enough to stay dry all night until at least age 5, 6 or even 7. Bed wetting through to age 7 is considered normal and not a problem to worry about.
Once toilet trained, it’s normal for your toddler to be dry during the day but still need a diaper at night. Rascal + Friends CoComelon training pants make change-time easier with easy-tear sides and an extra stretchy waistband. They’re easy to pull up, like underpants, and are a great transition from a diaper to underpants. Also made for potty training, our premium training pants are made with up to 12 hour leak protection and will keep your jumping junior comfy and dry, day and night.
Wetting their pants again after successful toilet training:
If you’ve successfully gone through the toilet training process and your child starts to wet their pants again, don’t give up. There are a number of reasons as to why they’ve taken a step back, such as:
Adapting to a new environment, such as a new house or being on holiday
Experiencing the birth of a sibling
Transitioning from a crib to a bed
Being weaned from breastfeeding
Starting at daycare or preschool
Not making it to the toilet several times and feeling discouraged
While this can be a bit frustrating, remember that they are also adapting to a new routine. The experience will be different for each child, and ultimately you want to build their confidence and independence.
Communicating with your toddler after they’ve had a potty training accident:
Try to understand what caused their change in behaviour
Change your child in a calm manner, and encourage them to explain what went wrong
Remind your child to go to the toilet – busy kids can often forget!
Introduce fun incentives around the topic of going to the toilet, such as choosing the toilet paper or hand soap at the shops or a sticker chart
Talk about the toilet in casual conversation, such as when you’re going to the toilet throughout the day
Remember, potty training takes time!
Every child will be different and the real secret behind successful toilet training is waiting until they’re ready. There’s no deadline, so try not get too caught up in the timing of it all.
Keep it fun, positive and enjoy watching them take another step in their growth and independence!
A consistent bedtime routine helps your toddler understand that it’s time to wind down for the day, and prepares them for a restful night. Bedtime is an opportunity to spend quality time with your little one – but it can also be chaotic as kids want nothing else but to play, and tired parents become frustrated. You may have tried to introduce a routine of your own but are struggling to make it stick.
Here are 3 easy tips to help get your bedtime routine back on track, and (most importantly) a good night’s sleep for the whole family!
1. Create a calm sleep environment for your toddler
Their environment is key, especially when you’re trying to switch the mood from playtime to quiet time. Try keep their bedroom calm and soothing – it’s much easier for them to drift off that way.
If your little one is easily distracted by playful toys, take these out of the bedtime-battle equation and leave them outside of the bedroom. You can gently introduce this rule by explaining that their toy is to also going to sleep, and that they can see them again in the morning. Your child may also like to act out the motion of putting their toys to bed as well.
If they enjoy the company of a toy during the night, opt for a soft toy that specifically becomes their ‘night time teddy’ (or whatever their favourite toy is). It may stay in their bed and be the incentive to help them leave behind other toys. Just make sure this bedtime toy doesn’t make any playful animations or sounds!
Dim the lights or use a side lamp to signal that it’s time to wind down.
Ensure their room is dark, especially for when the days are longer and the sun is still up when they’re going to sleep. You could also use a night light or alarm clock to teach them day from night, and when they’re allowed to get up again.
A noise machine can create a gentle, soothing ambiance.
2. Keep it fun and involve them in the process
Your toddler’s bedtime routine shouldn’t feel like a burden or long list of tasks to complete every night. While structure can help them learn the process involved to wind down for the evening, it’s also an opportunity to spend quality time with your little one. Make it fun for both of you. Some ideas include:
Run a soothing bath. If playful toys, soap and bubble bath equal playtime in your household, try keep this bath simple with warm water and a wash cloth.
A quiet craft activity, like a colouring-in book or short learning activity. Download FREE Rascal + Friends colouring-in sheets, maze activities and alphabet flashcards on our News + Resources hub.
A special story told by you or read from a storybook.
Each sharing a highlight or something special about their day. If your little one is in preschool/daycare, this is a nice way of catching up on their day.
3. Make it routine for your toddler
Keep it routine. That means even after a long day or even when the kids are extra fussy, still try to follow the sequence of events in your routine. Of course, that’s easier said than done, and there will be times where you can’t go through all the motions. Don’t feel like you’ve thrown in the towel if you miss a few steps here and there. Just know that with good consistency, your toddler will start to make these steps habits of their own without your instruction. This responsibility helps to make bedtime a more seamless process in the long run.
Remember, a bedtime routine doesn’t have to be a complicated series of events. It should include the range of motions that help you get the essentials done, and be an enjoyable experience for the whole family.
First time changing a diaper? Follow this simple step-by-step guide and save for later.
Grab your supplies:
Change table or change mat
A fresh diaper (Rascal + Friends, of course!)
Baby wipes or wash cloth
Diaper cream or ointment
Change of clothes for your baby (in case of a blowout)
Disposable bag or bin
Follow these simple steps:
Get ready with your change table or change mat, and a fresh diaper.
Lay your baby down on their back and remove the used diaper. Dispose of the diaper by rolling it into a bundle, and sealing it with the grip tabs.
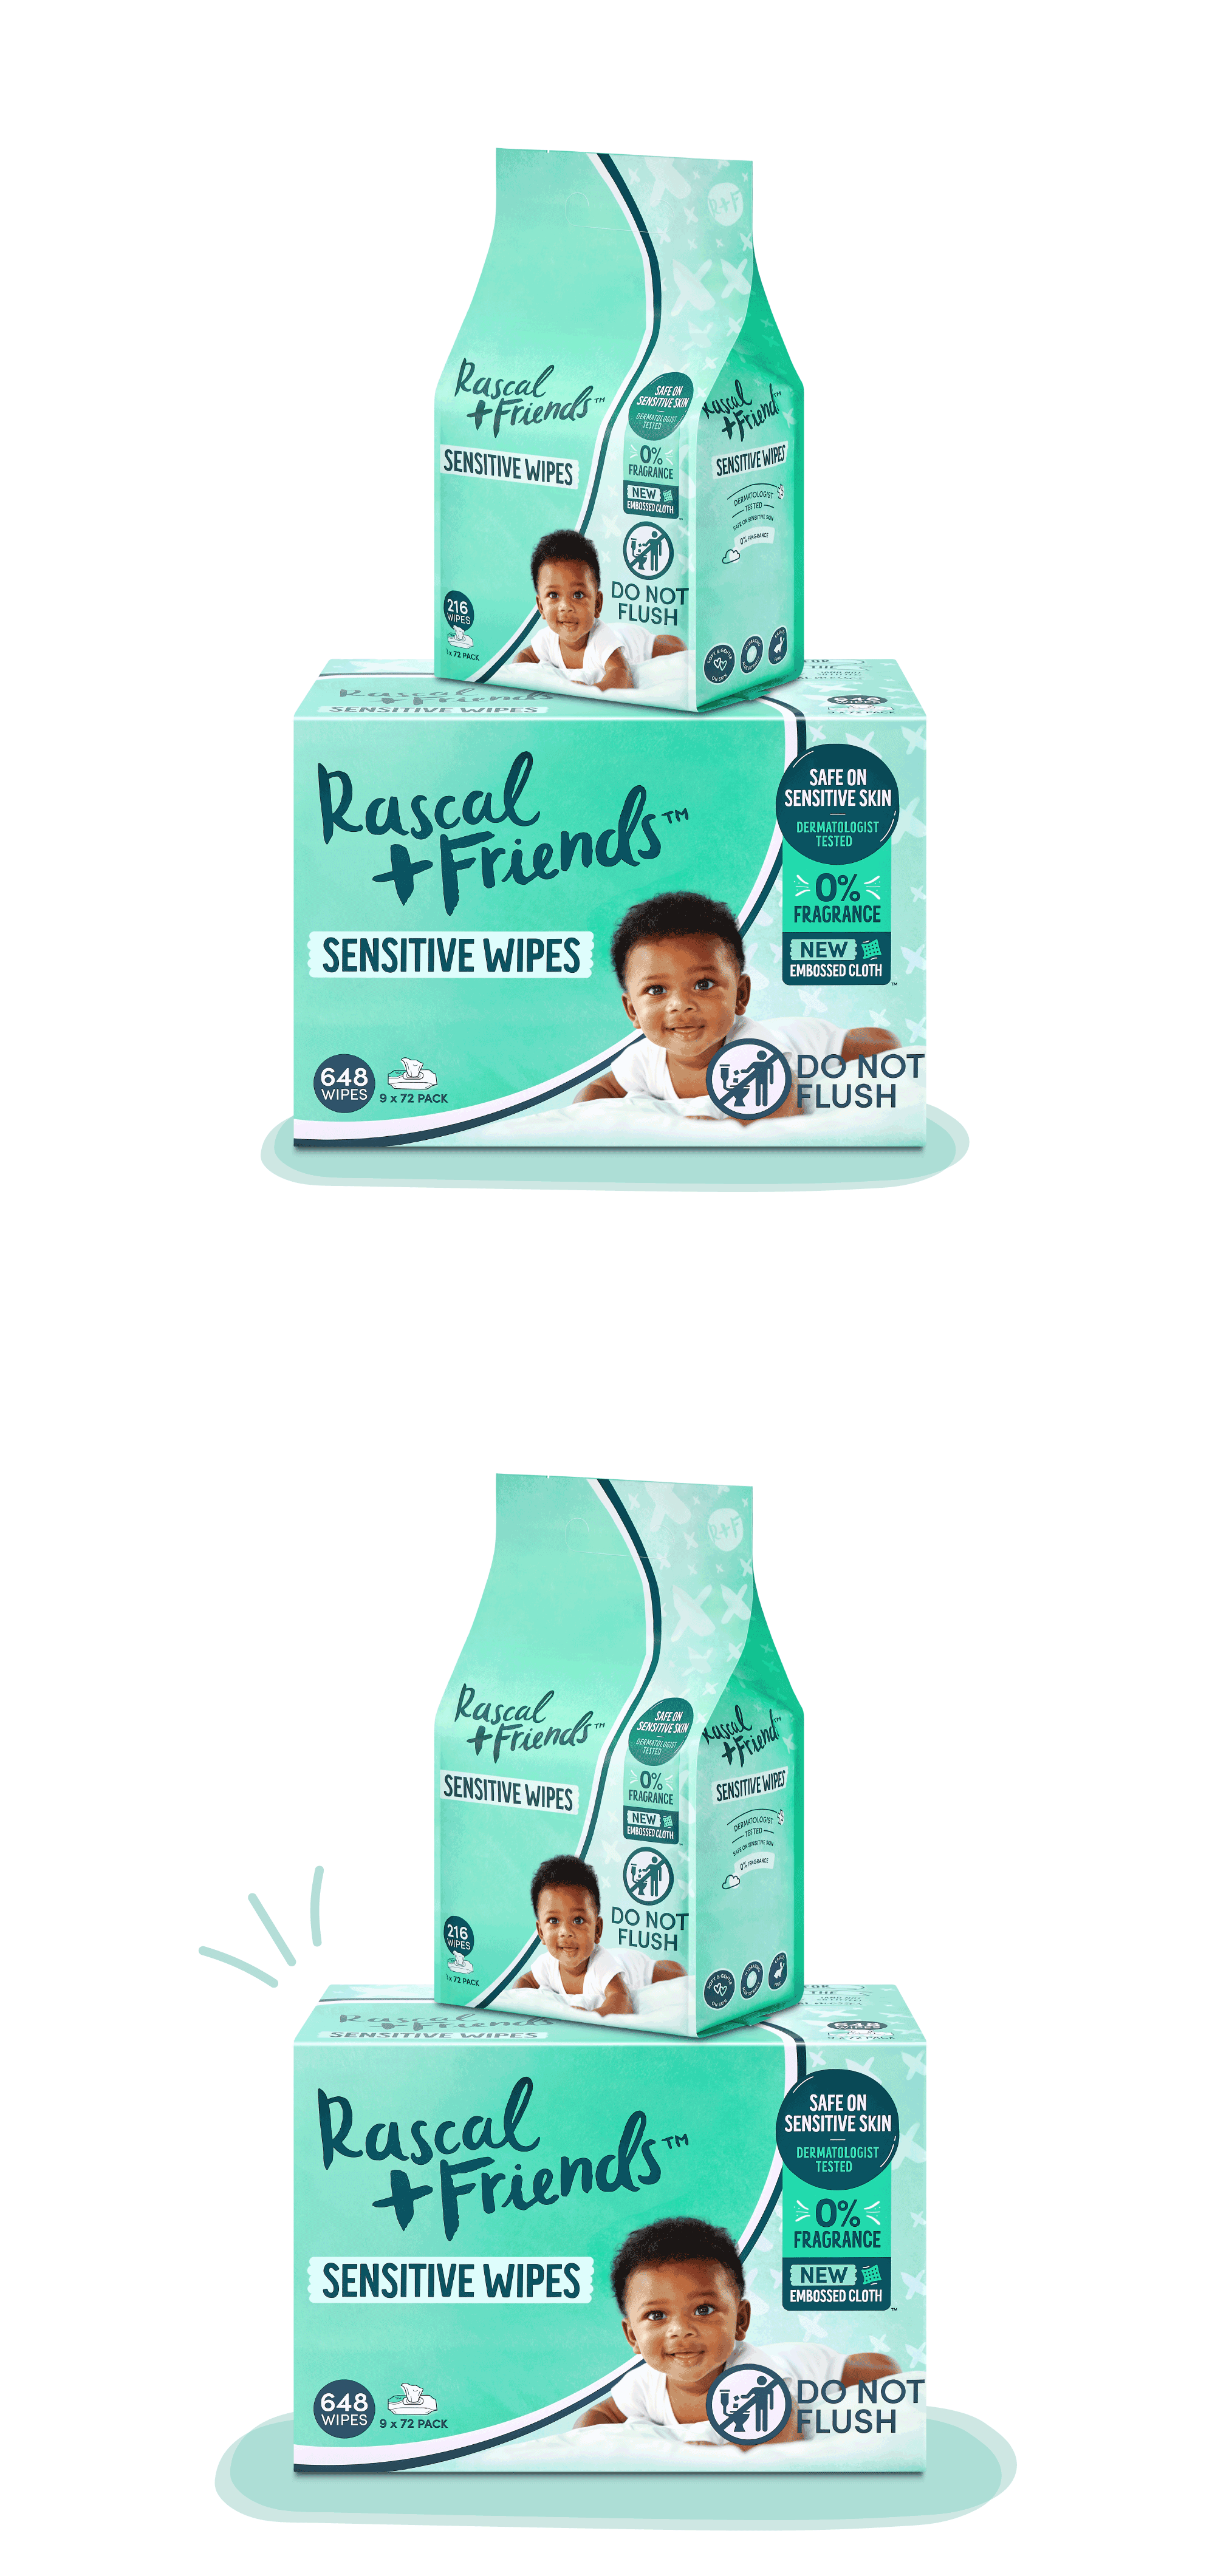
Gently clean your baby’s diaper area, taking extra care to clean between the folds of the skin where moisture can get trapped. You can use baby wipes, like Rascal + Friends sensitive baby wipes, or a damp washcloth. For girls, wipe front to back. For boys, use the front of the diaper to cover their diaper area as you clean (and to protect yourself from any surprise sprays!)
If necessary, apply a diaper ointment or cream and allow to completely air dry. You can read more about how to treat diaper rash in this article.
Open the fresh diaper so the inside is facing up toward you.
Open the two grip tabs (on either side of the diaper), untuck the double leak guards (elasticated sides that run down the diaper) and soft leg cuffs (ruffled-like material). These should sit flat on your baby’s skin.
Gently raise your baby’s legs and lower body by their ankles, and slide the fresh diaper underneath. Their bum should be in the middle of the diaper.
Pull the front the diaper (side closest toward you) up and over your baby’s diaper area. The Rascal + Friends logo on the front of the diaper should be facing you.
If necessary, untuck the double leak guards and soft leg cuffs. These should sit flat on their skin.
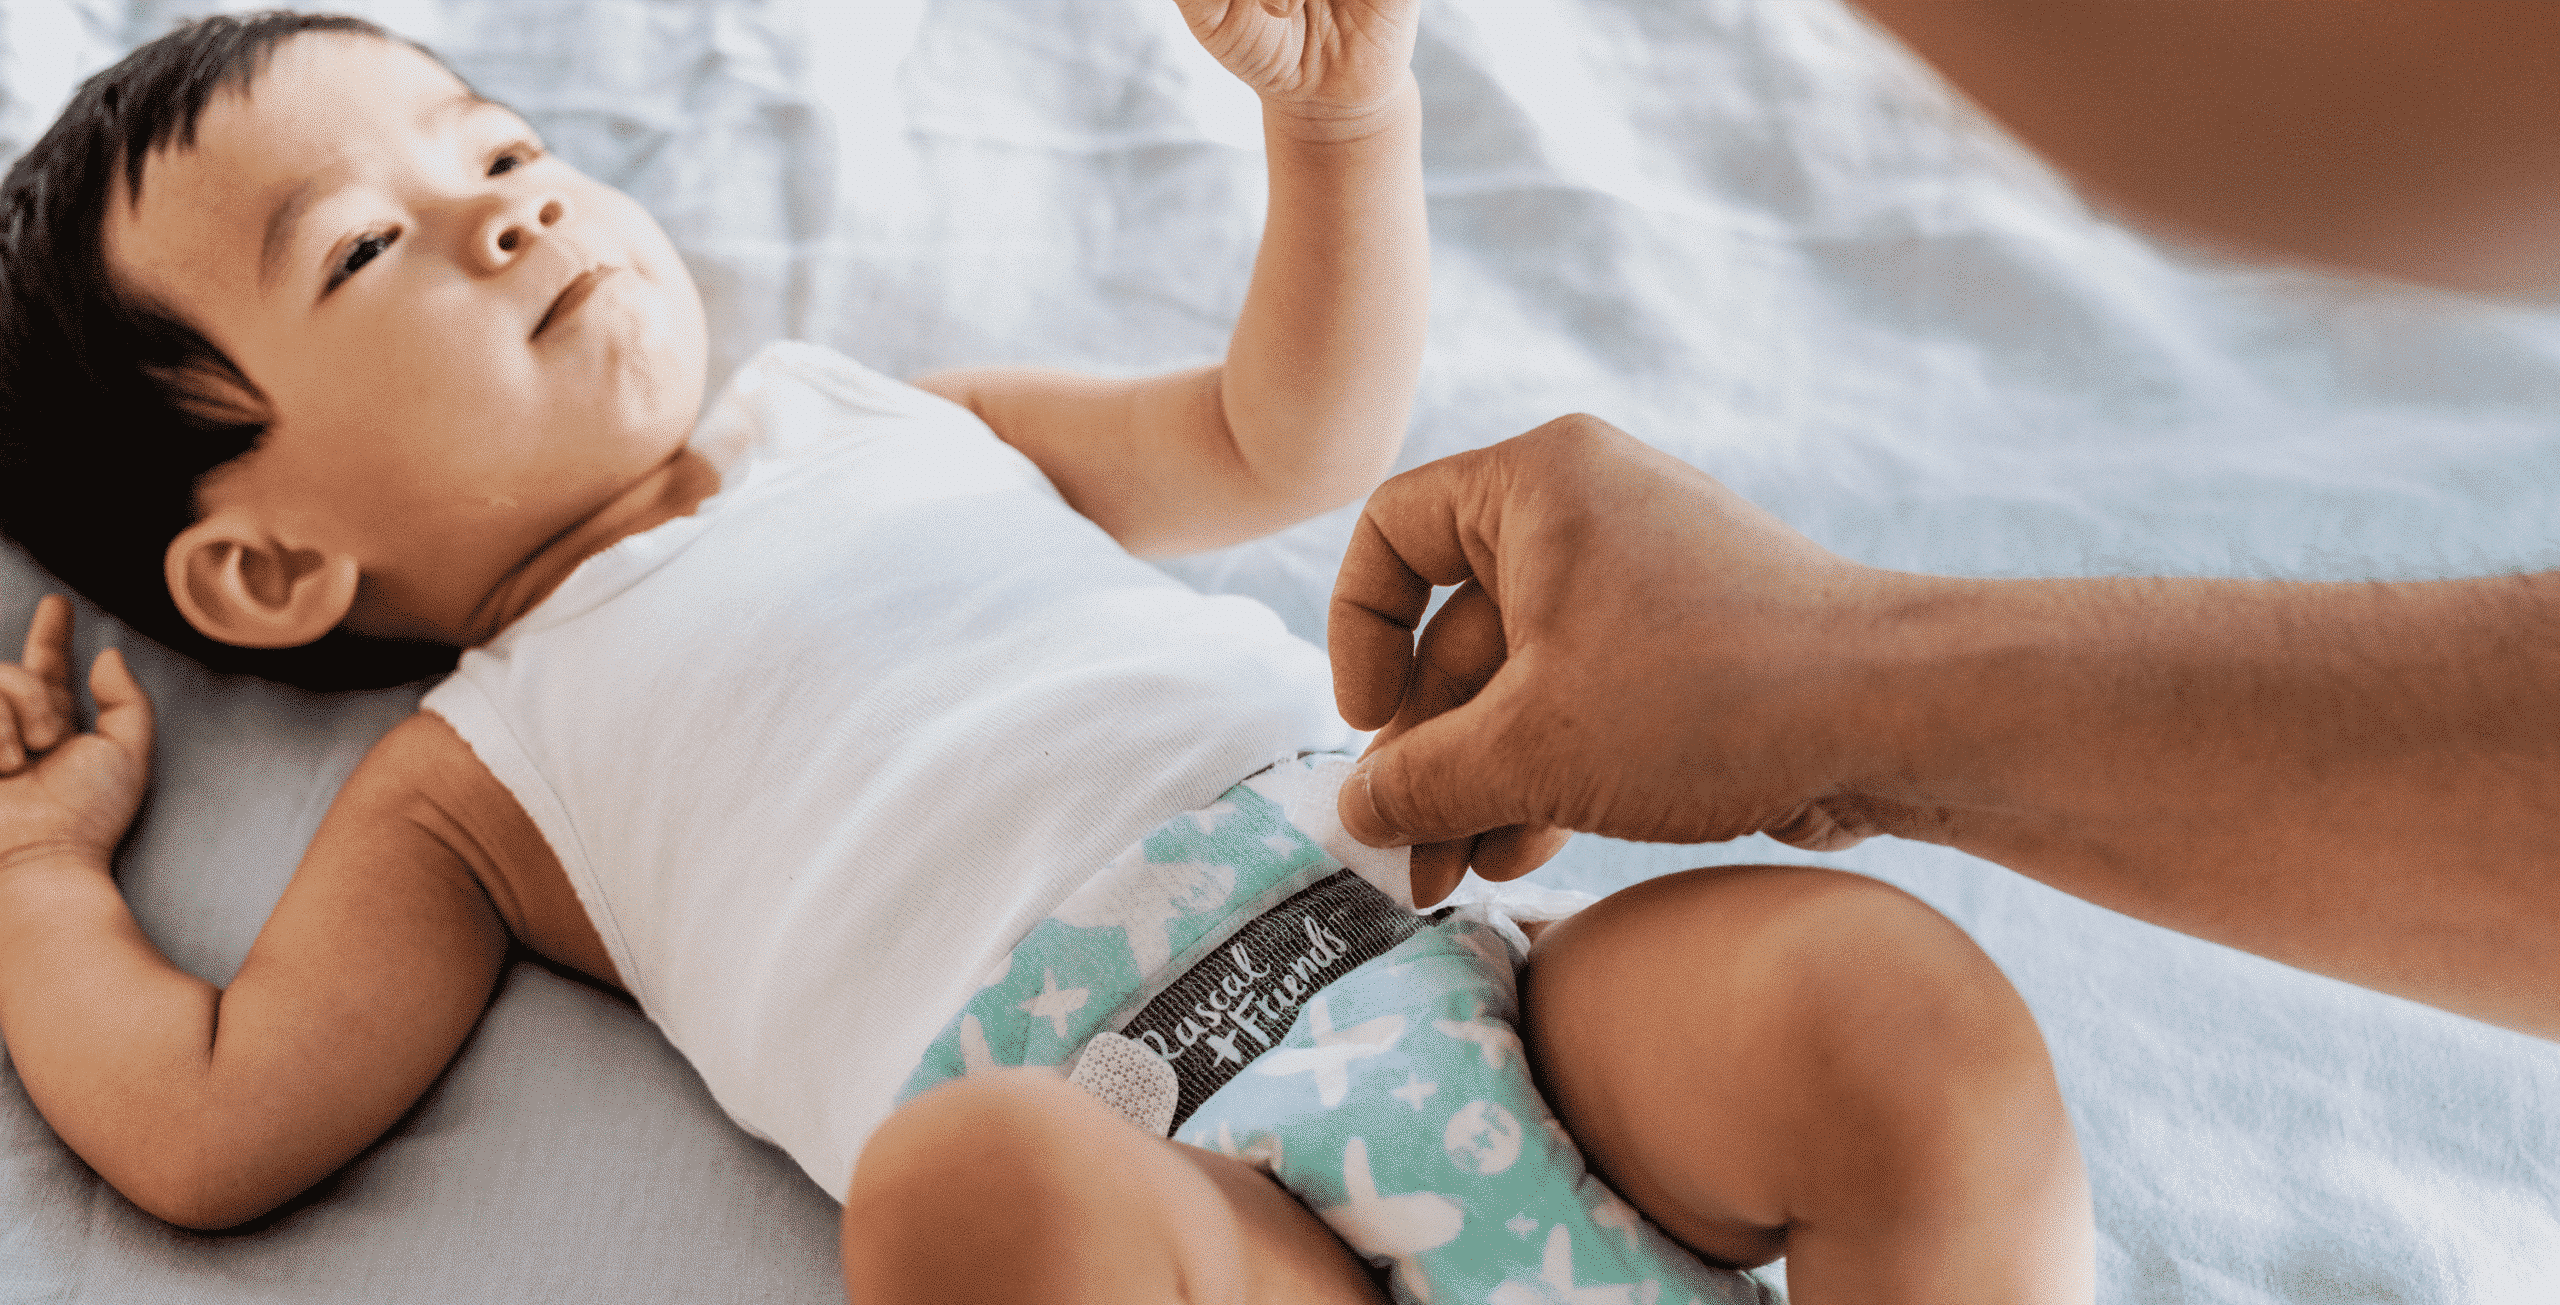
Secure the strong grip tabs, by folding them up and over your baby’s hip. These should sit comfortably on your baby’s hip – no need to make the fastening too tight. The tabs are also resealable.
Did you know: On average, each baby will have 3,500 diaper changes before they are toilet trained
How the diaper should fit
Made with seriously good features, Rascal + Friends premium diapers also have a unique fit. Here’s a few tips on how the diaper should fit:
Our high back waistband is soft and stretchy, designed to sit a little higher on your baby’s back. This makes for a comfy and snug fit to reduce the chance of sneaky leaks or blowouts.
Our soft leg cuffs and double leak guards should not be tucked in, as they help to contain sneaky leaks. Be sure to unfold them when opening a new diaper, and sit them flat on your baby’s skin.
We recommend choosing a diaper size based on your baby’s weight. Our diaper calculator helps you find the right size and an estimate of how many diapers you’ll use per day.
If your baby is in-between sizes, contact our Customer Love team to get their expert advice on the perfect Rascal + Friends fit.
Our strong grip tabs are resealable, but designed to stay in place once fastened. They should sit comfortably on your baby’s hips when fastened.
Our diapers have a stretchy high back waistband and strong grip tabs, which can sit further apart when fastened onto the front of the diaper.
Our fit means that when the diaper is on your little one, it should be snug on their tummy (pulled up just under their belly button) and at the same level on their back.
Learn more about our seriously good features here.
How often you should change their diaper
Babies need frequent diaper changes to keep their skin clean, fresh and to help prevent diaper rash. If your baby has sensitive skin, changing their diaper as soon as they wet themselves can prevent further irritation.
It is recommended that your baby’s diaper is changed as soon as possible when they have done a poo.
Newborns may need changing as many times as 10 to 12 times a day, while older babies average 6 to 8 times per day.
Knowing when to change their diaper
For sizes 1 and 2, our premium diapers have a wetness indicator (on the centre line of the diaper) that changes colour from yellow to blue when the diaper is full and should be changed.
For larger sizes without a wetness indicator, the core of the diaper will swell, indicating that it is ready to be changed.
Diaper rash, or diaper dermatitis, is a rash in the diaper area. Your baby’s skin may look red, raw and even a bit spotty at the edge of the rash. The severity of diaper rash can range from mild irritation to extremely sore.
While diaper rash is a common baby skin condition that can often be treated at home, seeing your little one in pain is difficult and the problem can be quite persistent. So how can parents best prevent diaper rash in the first place, or best manage it once it appears?
How to treat baby diaper rash:
Keep the area clean and dry
Prevention is the best medicine in this case. The best and most simple way to keep diaper rash from appearing is to keep your baby in clean, dry diapers. Every two to three hours is a good rule of thumb for change-frequency, but if you find that your little one is messy again after just an hour, make sure to change it right away.
When cleaning the area, pay special attention to any folds in the skin. Bacteria can easily get trapped here, causing rashes and irritation. Use an unscented baby wipe or wetted cloth to clean the diaper area. Rascal + Friends sensitive baby wipes are pH balanced, made with a 99% natural formula and are dermatologically certified to be safe on sensitive skin.
Applying a gentle, unscented lotion with each diaper change can ensure that the area stays healthy. Just be sure the skin is completely clean and dry before applying any lotions or ointments.
Frequent diaper change routine
When a diaper rash appears, changes can become more challenging as cleaning the area may cause pain and discomfort for your little one. It’s important, now more than ever, to keep your change routine frequent, so they stay in a fresh diaper with clean skin. Continue to generously apply a diaper ointment, and water can also be a great gentle solution for cleaning the area – just avoid using soap as it can dry out the skin and cause further irritation.
Allow the skin to completely air dry before putting on a new diaper. You may also like to try ‘no diaper time’ to let skin completely dry and breathe.
Find baby diaper products that are safe on sensitive skin
Diaper rash can also be caused by a sensitivity to diaper products, whether that be diapers, ointments, or baby wipes. Start by ensuring that all of the products you’re using are unscented, as fragrances are a common sensitivity and could be causing the irritation of the skin. Using sensitive baby wipes, minimum ingredient lotions, and diapers made for sensitive skin can also improve the state of a little one’s rash.
If the problem persists after you’ve taken all these measures or progresses to the point of open sores or bleeding, consult your paediatrician.
Choose a diaper for sensitive skin
Rascal + Friends premium diapers, are made with sensitive skin in mind. Certified by world leading organisations to be safe and ultra gentle on sensitive skin, our premium products are made with no nasties, just love.
Tiny humans poop (a lot!), so have a good supply of diapers at the ready. Choose size 1-2 Rascal + Friends premium diapers for your little one. Made with seriously good features, such as feather soft materials, no nasties and up to 12 hour leak protection, they’re the perfect addition to your newborn nursery.
Changing mat or table
Baby ointment or lotions
Plenty of baby wipes for your changing table, around the house and your diaper bag. Rascal + Friends sensitive baby wipes are perfect for cleaning those little (and not so little!) messes. Made with a plant-based cloth and 99% natural formula, they’re dermatologically certified to be safe and ultra gentle on sensitive skin.
Clothing
Your little one will grow out in and out of clothing sizes, fast! Rather than buy everything at once, you may like to have these basics on hand:
8-10 undershirts or onesies (a mix of short and long sleeve)
5 pairs of pants
2 newborn hats
8-10 pairs of socks or booties
3 pairs of scratch mittens
3 cardigans or jackets
Feeding
If you’re breastfeeding:
Lots of bibs
Burp cloths
Breast pump
Milk storage containers
Nursing pillow
Nursing bras (if you’re buying before the baby is born, purchase one cup size larger than your pregnant bra size)
Breast pads (disposable or washable)
Lotion for sore nipples
If you’re formula feeding:
Lots of bibs
Burp cloths
Bottle and nipple brush
Formula
Thermal bottle carrier
Setting up the nursery
Crib, mattress and fitted crib sheets
A few light blankets that you can layer in the crib
Waterproof mattress covers
Sleep sack
Baby monitor
Coat hangers
Night light
Rocking or reclining chair for feeding
Pacifiers
10+ muslin cloths
Bathtime
12 washcloths
Baby soap or cleanser
Baby soft-bristled hair brush
3 soft-hooded towels
Other essentials
Infant safety car seat
Sun shade for car windows
Stroller
Medication in case of fever
Medicine spoon
Baby thermometer
Nail clippers or scissors
Preparing for the hospital
As your due date approaches, starting preparing a bag for your hospital stay. While you want to be prepared, less is more. Most of the essentials will be provided for you at the hospital. A plan/map of the best route to the hospital is also a helpful step in your preparation. That way there’s no need to panic when the time comes!
There’s few transitions in life more stressful than bringing home a baby, especially if you’re a first time parent. While there’s plenty of excitement and buzz around the baby’s arrival, there’s also nerves, sleeplessness and baby brain.
If you know someone bringing home a newborn, consider how you can lighten their load with helpful support.
1. Organise a meal train
When you’re caring for a new baby and recovering from giving birth, making healthy home cooked meals is the last thing on the to-do list. Bringing over a meal or two is great, but an even better way to support is to organise family and friends into a meal train, or a schedule of people taking turns bringing over food to support the family.
There are plenty of online systems to help organise, such as www.mealtrain.com, but simply keeping a calendar and reaching out to friends by phone or text works just as well. Both the new parents are going to be greatly appreciative of low-effort meals, and won’t have to put in the extra time and energy to have good, filling, healthy food.
2. Help around the house and run errands
If you are planning to visit, consider how you can become a helpful visitor.
Between a whole raft of family and friends wanting to come over and meet the family, parents will feel an extra layer of stress trying to be accomodating hosts and keep the house presentable. Offer to bring round lunch, or schedule your visit at a time where you can help the parents with chores. The small things can really make a difference. Such as offering to watch baby while they take a shower, cleaning up the dishes or doing a load of laundry.
You could also offer to pick up anything en route to your visit or offer to run errands. Picking up groceries, a restock of diapers (find a stockist of Rascal + Friends near you) or baby essentials they may have forgotten can be really helpful.
While your visit and support will certainly be appreciated, be respectful of their time and know your curfew.
3. Offer space to talk
While practical support will lighten their load, so will your emotional support. Especially during the ups and downs of the first few months of parenthood, the stress, anxiety, and excitement can feel overwhelming.
The level of emotional support they require from you will vary from person to person, and some are more forward with these requests than others. A few ways you can offer support include:
Sending a simple text message, saying that you’re thinking of them, or that they’re doing a great job.
Make an effort to spend time with them, beyond visiting the baby.
The opportunity to sit down with you and be real about their emotions. If the topic arises, listen to their concerns, struggles and empathise with them. Even if you don’t have personal experience to draw on, you can still offer relief with a listening ear and shoulder for support.
If they need support beyond what you can offer, encourage them to broaden their support network. This may include more friends and family and professional help, like an antenatal group or a healthcare professional.
Understanding and dealing with stress as a new parent
Bringing home a newborn baby comes with a whole range of emotions – from excitement and relief, to overwhelming stress as parents try adapt to a new lifestyle. Rest assured, these feelings are common and there’s plenty of ways you can manage this stress. Here’s a few tips:
1. Be kind to yourself
Be kind to yourself and be aware of your expectations.
The likes of social media, magazines and the experience of friends and family may have pressured you to do things a certain way. You may have had a clear picture of what parenting life would look like for you, and this may or may not be your current reality. While this can be disheartening, remember that your parenting journey is just that – it’s yours!
It’s an experience you’ll never be able to exactly replicate, one that’s entirely your own, and something you should be proud of. From day one, there will be ups and downs, highs and lows and unexpected twists and turns. Stress will come in waves, but so will the burst of joy that comes from raising a child of your own.
Be open to the range of experiences that come with parenting, knowing that some days will be more difficult than others and this is normal. You are not the only one who is struggling with life as a new parent.
2. Surround yourself with a support network
Especially in the postpartum period, your support network is important.
Early parenthood can be lonely, and it’s no wonder. Your previous way of life has dramatically changed, and you’re trying to navigate the responsibility of a newborn. You’re enduring both physical and emotional change, and it can feel like you’re the only one who’s struggling. While it’s okay to feel this way, know that you aren’t alone, and that everyone has good and bad days.
This is why a support network is so important. You may like to build your network with professional support, such as an antenatal group or a healthcare professional, and some lighter relief, such as friends and family on speed dial for when you need a babysitter or a good laugh!
Don’t be afraid of calling on your network when you need it. Ask for help, and know that doing so, you are learning how to be a better parent and enjoy this experience.
The best thing for parents to do is to let it go! A new baby doesn’t care if there is laundry on the floor or dishes in the sink
3. Make time for self care
While finding time to do anything other than take care of your new baby is far easier said than done, it’s also critical for managing the stress of new parenthood. Find some time for a friend or family member to take care of the baby so you can have a moment to yourself.
You may like to take a nap, run a long bath, or even head outside the house. Recharge your batteries and come back refreshed and ready to go. Plus, you’ll be amazed how much good it can do you to turn off parenting brain for even an hour!
4. Create a care plan
Organise a schedule with your partner so it’s clear who is taking care of the baby. It also means you can make sure each parent has scheduled breaks. It might work best to designate time slots, or to alternate getting out of bed.
Clearly communicating responsibilities will prevent a lot of frustration and resentment when it’s 3:00am and everyone is tired!
5. Let go of the ideal
Many new parents feel creeping guilt about all of the tasks they neglect when taking care of a new baby. Managing housework, keeping up with a diet and exercise routine, or maintaining relationships with friends and family suddenly all become more difficult with a newborn.
The best thing for parents to do is to let it go! A new baby doesn’t care if there is laundry on the floor or dishes in the sink, and they certainly don’t care if you haven’t worked out this week. Complete these tasks as is comfortable, functional, and fulfilling for you, but don’t pressure yourself to live up to a standard.
Give yourself the grace to be a little behind on things right now, and focus on what’s important – the health and happiness of your family. The special moments of early parenthood will fly by, so make the most of them.
Be prepared to be feeding your newborn around the clock. Read below our suggestions for feeding time essentials, which you may like to store in a basket to always be prepared.
Plenty of water
Snack
Feeding pillow and/or comfy pillow behind your back
Book/tablet/phone
Hair tie. Handy to tie your hair back but even handier if you’re breastfeeding, so you can put it on your wrist to remember which side you are on for the next feed